
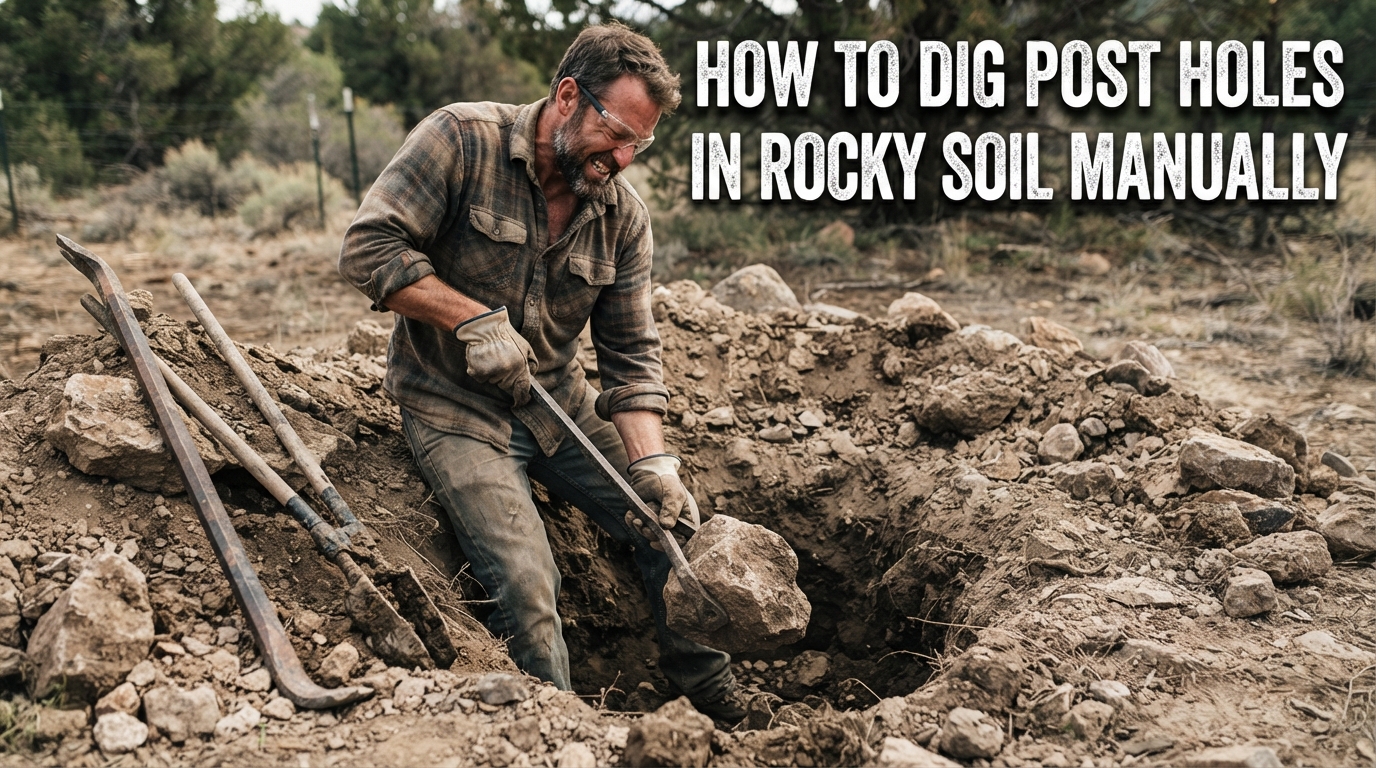
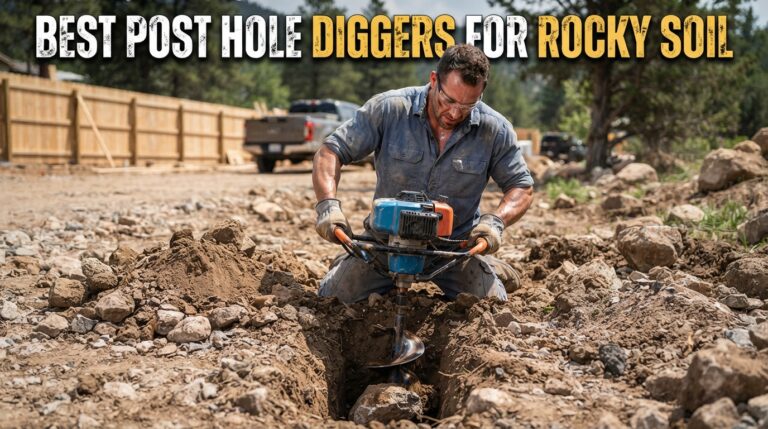
How to dig post holes in rocky soil manually? Tackling a backyard fencing project, installing a sturdy mailbox, or building a new deck pergola is an exciting weekend endeavor. That is, until you step out with your post-hole digger, plunge it into the earth, and hit an impenetrable wall of solid stone, jagged shale, or cemented gravel. If your property is located in the rugged caliche-laced ground of Texas, the rocky glacial till of New York, the stony foothills of California, the boulder-strewn earth of Washington, or the dense urban-fill soils of San Francisco, digging post holes manually can quickly turn into a grueling battle of attrition.
When powered machinery like a gas-powered auger is too expensive, too heavy to rent, or unable to navigate tight backyard gates, manual labor is your only option. But digging through rocky soil requires more than just brute strength; it requires the right strategy, specialized heavy-duty hand tools, and mechanical leverage. This comprehensive guide details everything you need to know to conquer rocky earth and sink rock-solid posts by hand.
Understanding the Challenge: Why Rocky Soil Breaks Ordinary Tools
Before swinging a pickaxe or twisting a standard post-hole digger into the ground, it helps to understand what you are working against. “Rocky soil” isn’t just dirt with a few pebbles; it encompasses several difficult geological profiles:
- Glacial Till and Cobblestone (Common in New York and Washington): Glaciers deposited mixed sediments of clay, sand, silt, and rounded boulders of varying sizes, locking stones tightly into dense matrixes.
- Caliche and Limestone Hardpan (Common in Texas): A hardened layer of calcium carbonate that cements gravel, sand, and clay together into a concrete-like sub-layer.
- Chaparral and Weathered Rock (Common in California and San Francisco): Highly fractured bedrock, shale, and sandstone sitting just inches beneath a thin layer of topsoil.
Standard clamshell post-hole diggers rely on scooping loose dirt. When they slam into a rock, the steel blades deflect, jars your wrists, and fails to grab anything. Overcoming this requires breaking the rock apart first before removing it piece by piece.
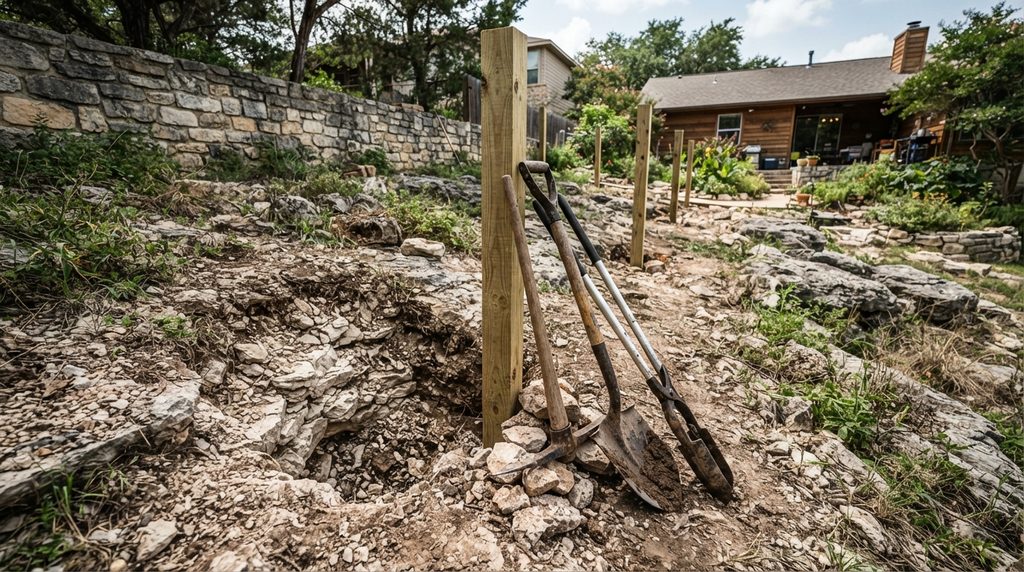
Essential Manual Tools for Digging in Rocks
Standard garden shovels will bend or snap in rocky earth. To succeed manually, you need heavy-duty, impact-rated manual excavation tools.
1. The Digging Bar (Tamping Bar / San Angelo Bar)
- What it is: A solid, heavy steel rod (usually weighing 15 to 20 pounds) with a chisel point on one end and a tamping foot or flat wedge on the other.
- Why you need it: This is your primary weapon. You lift it and drop it vertically like a pile driver to fracture bedrock, smash embedded stones, and wedge beneath large boulders to pry them loose.
2. Heavy-Duty Matlock / Pickaxe
- What it is: A dual-purpose striking tool featuring a pointed pick on one side for fracturing hard stone and a wide adze blade on the other for scraping away loose rubble.
- Why you need it: Essential for loosening tightly packed rocky clay and trenching the perimeter of your hole as you work downward.
3. Long-Handled Heavy-Duty Shovel with Steel Collar
- What it is: A round-point shovel reinforced with a heavy steel collar where the handle meets the blade.
- Why you need it: Used to scoop out the fragmented rock chips and loose gravel pulverized by your digging bar and pickaxe.
Product Reviews: Best Manual Tools for Rocky Soil Excavation
If you need to outfit yourself for a grueling weekend of digging, investing in professional-grade hand tools makes all the difference.
1. Council Tool 5-Poundpick Mattock with Fiberglass Handle
- Design & Materials: Forged high-carbon steel head mounted on a shock-absorbing fiberglass handle with a non-slip grip.
- Best For: Breaking through caliche, hardpan, and fractured rock layers.
- Review: Council Tool manufactures industrial-grade forestry and excavation gear. This pick mattock provides the perfect balance of weight and leverage. The sharp pick fractures stubborn stones, while the broad cutter blade slices through stubborn roots interwoven with rocks.
- Pros: Extremely durable forged head; shock-absorbent handle reduces hand fatigue; lifetime build quality.
- Cons: Heavy tool; requires upper-body stamina during prolonged use.
- Rating: 4.8 / 5
2. True Temper 69-Inch San Angelo Digging Bar (18 lbs)
- Design & Materials: Forged solid steel bar with a chisel tip and tamper end.
- Best For: Dropping gravity-powered shock loads to shatter subterranean rocks.
- Review: When a rock is too deep for a mattock, dropping this 18-pound steel bar directly onto it shatters stone through sheer kinetic energy. The chisel end acts as a wedge to pry large cobbles out of narrow hole walls.
- Pros: Indestructible solid steel construction; ideal weight for gravity-assisted breaking.
- Cons: Heavy to transport and maneuver in confined spaces.
- Rating: 4.9 / 5
3. Bully Tools 92353 14-Gauge Round Point Shovel
- Design & Materials: Commercial-grade 14-gauge steel blade with a reinforced fiberglass handle and steel-reinforced core.
- Best For: Scooping out sharp gravel, stone shards, and heavy rocky dirt.
- Review: Standard retail shovels bend when you pry against a rock. Bully Tools are 100% made in the USA and feature extended welded sockets that prevent the handle from snapping under lateral leverage.
- Pros: Unbendable steel blade; rugged welded reinforcement; excellent warranty.
- Cons:* Slightly heavier than cheap residential shovels.
- Rating: 4.6 / 5
Comparison Table: Excavation Tools for Rocky Soil
| Tool Name | Primary Function | Weight | Best Application | Effort Level |
| San Angelo Digging Bar | Shattering & prying deep rocks | 15–20 lbs | Breaking hardpan & large boulders | High (Vertical drops) |
| Pick Mattock | Chipping and loosening surface rock | 5–7 lbs | Fracturing shale, caliche, & roots | Moderate-High |
| Heavy-Duty Round Shovel | Scooping fragmented rock & debris | 5–6 lbs | Clearing loose stone and gravel | Moderate |
| Clamshell Post-Hole Digger | Final cleanup & loose soil removal | 8–10 lbs | Scooping fine debris between rocks | Moderate |
Step-by-Step Guide: How to Dig a Post Hole in Rocky Ground Manually
Digging a hole in rocks is a rhythmic process. Follow this battle-tested sequence to get down to your required depth (usually one-third the length of the post).
- Mark and Outline Your Hole: Spray paint a circle on the ground 3 times the diameter of your post (e.g., a 4-inch post needs a 12-inch wide hole). A wider hole gives you room to work around stubborn rocks.
- Break the Surface Soil: Use your round-point shovel or mattock to clear away the topsoil layer until you hit the rock layer.
- Deploy the Digging Bar: Lift your San Angelo bar and drive the chisel end downward into the center of the obstruction. Repeat this process methodically across the hole surface to fracture the rock into smaller gravel and powder.
- Chisel the Edges: Switch to your pick mattock to chip away at the edges of the hole, widening the space around larger embedded stones.
- Pry Out Large Boulders: When you encounter a rock too big to crush, wedge the chisel end of your digging bar beneath it. Use the fulcrum of the hole wall to pry the rock upward and tilt it out.
- Scoop and Vacuum (The Water Trick): Use your shovel to scoop out loose debris. Pro Tip: Pour a few gallons of water into the hole. As you drive your digging bar into the wet stone slurry, the water creates a hydraulic softening effect, making it much easier to crush gravel and wash away dust so you can see your progress.
- Repeat Until Depth is Reached: Continue the cycle of Fracture $\rightarrow$ Pry $\rightarrow$ Scoop $\rightarrow$ Water until you reach your target depth.
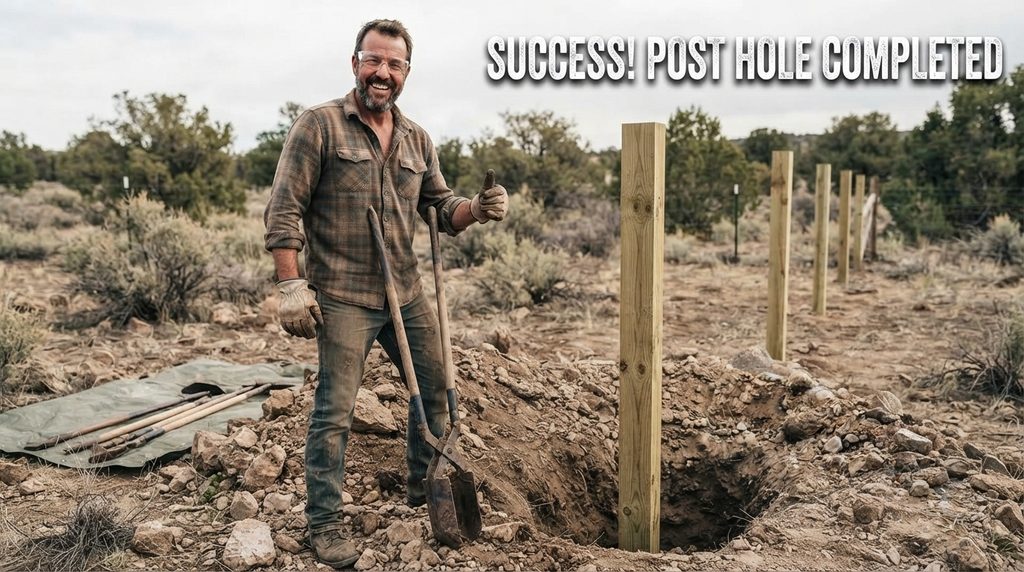
State-by-State Considerations: Texas, New York, California, Washington, & San Francisco
Geological conditions vary widely across your target regions, altering how you approach manual digging.
Texas
- Soil Profile: Caliche hardpan, limestone layers, and heavy black clay.
- Strategy: Caliche acts like natural concrete. Water is your best ally here—soak the hole 24 hours before digging to soften the calcium carbonate bonds, allowing your digging bar to bite into the stone more effectively.
New York
- Soil Profile: Glacial till, mixed cobblestones, and dense shale beds.
- Strategy: You will frequently encounter rounded glacial boulders. Do not try to smash them; use your digging bar to wedge beneath them, flip them sideways, and lift them out of the hole.
California & San Francisco
- Soil Profile: Weathered sandstone, decomposed granite, and serpentine rock on hillside slopes.
- Strategy: Hillside lots in San Francisco and California feature steep angles and dry, compacted soil. Ensure your hole is dug vertically level regardless of the slope angle, and use concrete anchoring to prevent post shifting in unstable hillside shale.
Washington
- Soil Profile: Basalt bedrock, glacial gravel, and damp, root-heavy forest soils.
- Strategy: Pacific Northwest soils are often waterlogged in spring and rock-hard in summer. If digging through glacial gravel, a heavy tamping bar combined with a narrow trenching spade will yield the best results.
10 Expert Tips for Conquering Rocky Soil
- Soak the Hole in Advance: Pour water into your marked hole a day before digging. Hydrated rock and softened clay fracture much easier under a heavy steel bar.
- Dig Wider, Not Just Deeper: If you keep hitting massive rocks, widen the diameter of your hole by an extra 2 to 3 inches. This gives your digging bar the clearance it needs to strike at an angle.
- Never Jam a Clamshell Digger Into Rocks: Slamming a standard dual-handled post-hole digger into solid stone will warp the handles and dull the blades instantly. Save it exclusively for scooping loose material.
- Wear Heavy-Duty Leather Gloves: Striking rocks with heavy iron tools sends severe shockwaves up your arms. Thick, padded leather gloves prevent painful blisters and calluses.
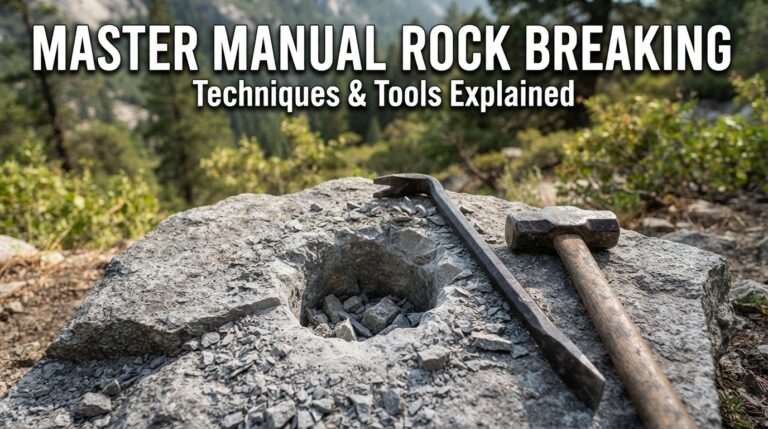
- Use a Heavy-Duty Sledgehammer: For stubborn protruding bedrock shelf layers, a 10-pound sledgehammer paired with a masonry chisel can break off clean chunks.
- Incorporate a Crowbar for Leverage: Keep a secondary 3-foot crowbar on hand to act as a lever when hoisting heavy, jagged stones out of narrow holes.
- Build a Cribbing Base if Depth Falls Short: If you hit impenetrable bedrock at 20 inches instead of 24 inches, you can compensate by using surface anchor brackets or extending your post above ground with reinforced concrete footings.
- Wear Safety Glasses: Smashing rock with steel tools sends high-velocity stone chips flying. Always wear ANSI-rated protective eyewear.
- Pace Yourself: Digging manually in rocky soil is physically demanding anaerobic exercise. Take frequent water breaks to avoid muscle strain or heat exhaustion.
- Backfill with Crushed Gravel: Once your post is set, backfill the hole with angular crushed gravel (like 3/4-inch minus) rather than native rocks. Tamp it down every 6 inches to lock the post rigidly in place.
Frequently Asked Questions (FAQs)
1. What is the easiest way to dig a post hole in solid rock without power tools?
The easiest manual method is the “fracture and pry” technique. Use a heavy 18-pound San Angelo digging bar to drop vertically onto the stone, breaking it into smaller pieces, then use a mattock and a pry bar to lift out the fragments. Pouring water into the hole helps lubricate and soften stubborn hardpan.
2. Can I rent a manual post hole digger that works in rocks?
Most standard manual augers or one-man gas augers will stall, kick back violently, or break shear pins the moment they hit a rock. For rocky soil, heavy hand tools (digging bars and pick mattocks) are significantly more reliable than augers.
3. What should I do if a boulder is too big to dig out of the hole?
If a rock occupies the entire base of your hole and cannot be pried loose, you have two choices: shift your post location slightly (if layout permits), or break the top surface of the boulder using a heavy cold chisel and sledgehammer to gain the minimum required depth.
4. How deep do my post holes need to be in rocky soil?
As a general rule, a post hole should be one-third to one-half the total length of the post above ground (typically 24 to 36 inches deep for standard fences). However, in extremely hard rock where you can only reach 18 to 24 inches, the natural density of the surrounding stone often provides exceptional structural stability, allowing slightly shallower depths if reinforced with concrete.
5. Should I use concrete when setting posts in rocky soil?
Yes, using fast-setting concrete or a concrete-and-gravel mix is highly recommended in rocky soil. Because the hole walls are irregular and filled with loose stone shards, concrete locks everything into a monolithic anchor block.
6. How do I prevent my digging bar from slipping when hitting round stones?
Rounded glacial cobbles can cause your chisel bar to glance sideways. To prevent this, place the chisel point firmly against the side of the stone rather than the apex, creating a wedge-splitting action that cracks the rock instead of sliding off it.
7. Why is my standard clamshell post-hole digger useless in my yard?
Clamshell diggers are designed to shear through soft, cohesive dirt like clay or loam. When they hit rock, the blades cannot bite, and the leverage handles bend. They are only useful after you have already pulverized the rocks into loose gravel with a digging bar.
8. Is it worth renting a pneumatic demolition breaker for post holes?
If you are digging dozens of post holes through solid limestone (like caliche in Texas) or dense basalt, renting a pneumatic or electric demolition breaker (jackhammer) with a spade bit will save you days of grueling manual labor.
9. How do I dispose of heavy rocks excavated from post holes?
Large boulders and stone fragments can be repurposed around your yard for landscaping borders, dry-stack retaining walls, or as part of the gravel backfill at the bottom of your fence holes to aid drainage.
10. How do I keep water from pooling in my rocky post holes?
Rocky soils often trap water in perched water tables. To prevent wood posts from rotting, pour a 4-inch layer of crushed drainage gravel at the very bottom of the hole before setting your post, ensuring water drains away from the wood.
Conclusion
Digging post holes in rocky soil manually is undeniably hard work, but with the right tools—such as a heavy San Angelo digging bar, a forged pick mattock, and a reinforced shovel—and a systematic approach of fracturing, prying, and clearing, any homeowner can conquer stubborn earth. Whether you are building a fence in Texas, setting a deck pier in New York, or securing a gate post in California, patience and mechanical leverage will win the day. Equip yourself properly, pace your labor, and you will achieve a rock-solid installation that stands firm for decades.











One thought on “How to dig post holes in rocky soil manually: Ultimate guide 2026”